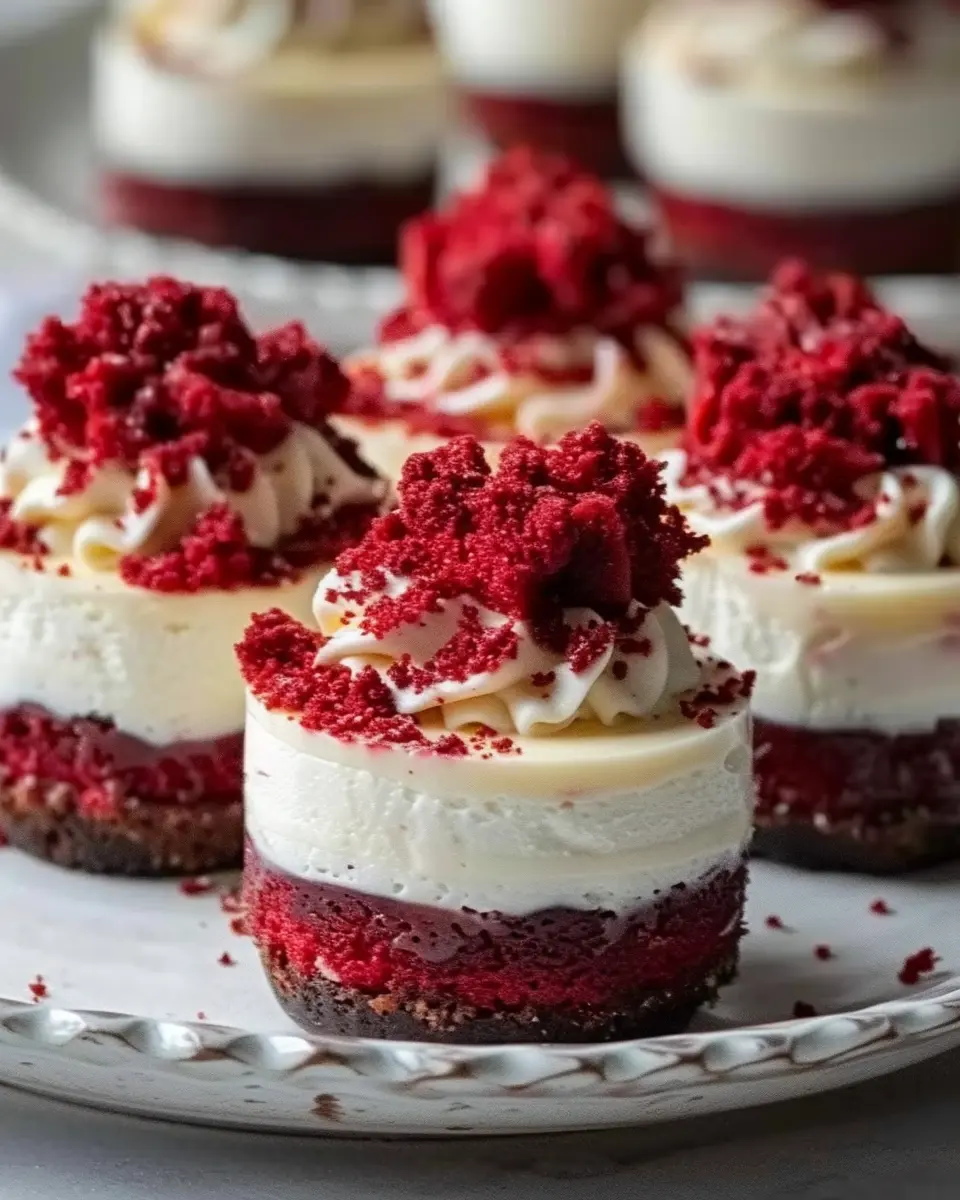
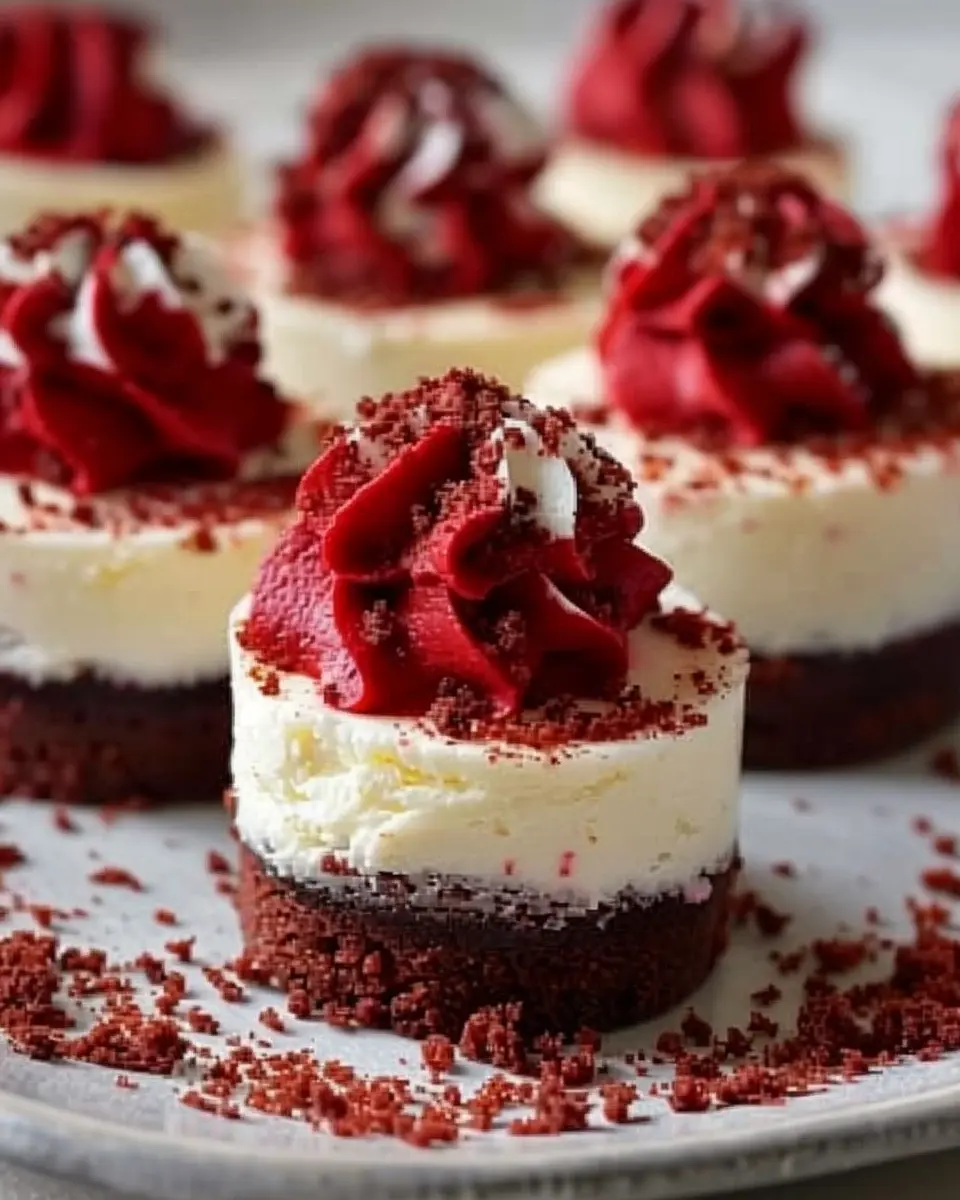
Introduction to Mini Red Velvet Cheesecakes
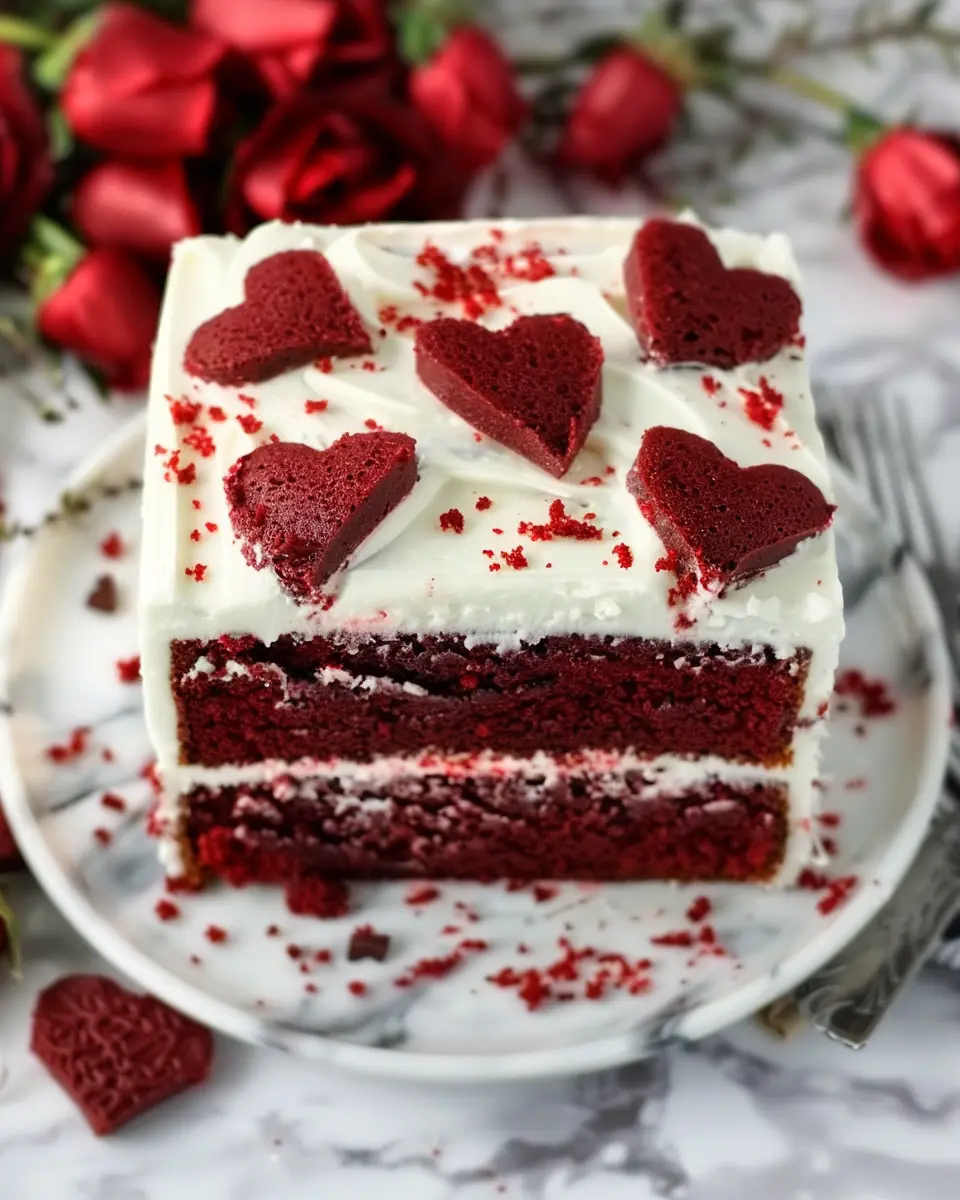
There’s something undeniably charming about mini desserts. They capture the essence of indulgence while remaining perfectly portioned for those of us navigating the busy world of young adulthood. Among these delightful treats, mini red velvet cheesecakes stand out as a luscious and visually stunning option. These small wonders combine the rich flavor of classic red velvet cake with the creamy texture of cheesecake, creating a dessert that’s as satisfying as it is simple to prepare.
Why mini red velvet cheesecakes are the perfect dessert for young professionals
As young professionals, our lives often feel like a whirlwind of responsibilities—meetings, deadlines, and social events can leave little time for elaborate baking projects. This is where mini red velvet cheesecakes shine! They are not only easy to whip up but also great for sharing with colleagues or treating yourself after a long day. With minimal baking time and quick prep, you can have a batch ready for your next gathering in no time.
Imagine ending a long week with friends, dessert in hand, and delightful conversations flowing. These mini cheesecakes are not only delightful to eat but also visually appealing, making them an instant hit at any gathering or celebration. Their rich cream cheese frosting and velvety texture offer a little taste of luxury without requiring hours in the kitchen.
Plus, they are wonderfully versatile. You can easily adapt the recipe to fit dietary preferences, such as incorporating gluten-free options or tweaking the sweetness to suit your taste. This flexibility means that everyone can enjoy them, whether it’s at a potluck or your next dinner party.
For more ideas on how to create the perfect dessert spread, check out resources from experts like the American Bakers Association that focus on innovative and practical baking solutions.
So, ready your muffin tins and get excited to make something genuinely special! These mini red velvet cheesecakes are sure to impress and satisfy your cravings, making them a must-try for anyone eager to tantalize their taste buds without overwhelming their schedule.
Ingredients for Mini Red Velvet Cheesecakes
Creating the perfect mini red velvet cheesecakes begins with selecting high-quality ingredients. Here’s a breakdown of what you’ll need to craft these delightful treats.
Essential ingredients for the cheesecake filling
For that rich, creamy filling, you’ll need:
- Cream Cheese: This should be softened to room temperature for easy mixing.
- Sour Cream: It adds a nice tanginess that balances the sweetness.
- Granulated Sugar: For sweetness, but feel free to adjust to your preference.
- Eggs: Just one or two to bind everything together and achieve that silky texture.
- Vanilla Extract: A splash enhances the overall flavor profile.
- Red Velvet Cake Mix: This is where the fun begins—opt for a quality mix for vibrant color and taste.
Choosing the right crust ingredients
The crust is the foundation of your mini red velvet cheesecakes. You’ll want:
- Graham Cracker Crumbs: For a classic base, or consider using Oreo crumbs for a twist.
- Butter: Melted, to hold the crust together—it’s a must for that perfect crunch.
- Sugar: A little extra sweetness helps complement the filling.
Selecting the right ingredients not only contributes to flavor but also ensures a delightful texture. For tips on where to find organic options, check out EatingWell or your local gourmet grocery store. Happy baking!
Preparing Mini Red Velvet Cheesecakes
No one can resist the enticing allure of mini red velvet cheesecakes. They not only satisfy your sweet cravings but are also sophisticated and vibrant, making them perfect for gatherings or a cozy night in. Follow these easy steps to create your own batch of decadent mini cheesecakes that will leave everyone wanting more.
Prepare your baking equipment and oven
Before diving into the delicious world of mini red velvet cheesecakes, it’s essential to prepare your workspace. Start by preheating your oven to 325°F (160°C). This will help ensure your cheesecakes bake evenly.
Next, gather your baking equipment:
- A cupcake pan or mini cheesecake pan
- Baking paper or cupcake liners
- A mixing bowl
- An electric mixer or whisk
- A spatula
- Measuring cups and spoons
Once you have everything in place, you’ll feel ready to create these delightful treats.
Create the crust mixture
The crust is the foundation of any great cheesecake. For your mini red velvet cheesecakes, start by crushing some graham crackers or cookies to form about one cup. Combine this with:
- 4 tablespoons of melted butter
- 1 tablespoon of granulated sugar
Mix these ingredients until they resemble wet sand. Now, press this mixture firmly into the bottom of your cupcake pan or mini cheesecake molds. This will form a lovely, buttery crust that complements the creamy filling. Be sure to pack it tightly for stability.
Blend the cheesecake filling ingredients
Once your crust is ready, it’s time to work on the cheesecake filling. In a mixing bowl, combine:
- 16 oz (two packages) of cream cheese, softened
- 1 cup of granulated sugar
- 2 large eggs
- 1 tablespoon of vanilla extract
- 1 tablespoon of buttermilk (or milk with a splash of vinegar)
- A few drops of red food coloring (start with one, add more to reach your desired color)
Using an electric mixer, blend these ingredients on medium speed until smooth and creamy. Make sure there are no lumps for a silky texture. You can also consider adding a touch of cocoa powder to enhance the flavor and color. It’s all about finding the right balance!
Assemble the cheesecakes in molds
Now comes the fun part! Carefully spoon the cheesecake filling over the prepared crusts in your molds. Fill them about three-quarters full to allow for expansion while baking. Gently tap the pan on the counter to remove any air bubbles, ensuring a smooth texture.
For a little extra flair, you can swirl in some additional red food coloring at this stage to create a marbled effect—this not only looks stunning but adds a little more character to your cheesecakes.
Bake the cheesecakes to perfection
Transfer your mini red velvet cheesecakes into the preheated oven and bake for 18-22 minutes. You’ll know they’re done when the edges appear set but the center is still slightly jiggly. Overbaking can lead to a dry cheesecake, so keep a close eye on them.
While baking, consider harmonizing these flavors with a delightful non-alcoholic beverage like lemonade or iced tea—both pair beautifully with rich desserts!
Chill for an optimal texture
Once out of the oven, let your mini cheesecakes cool in the pan for about 15 minutes before transferring them to the fridge. Chilling is crucial as it allows the flavors to meld and the texture to become luxuriously creamy. For the best results, chill them for at least 4 hours, or overnight if possible.
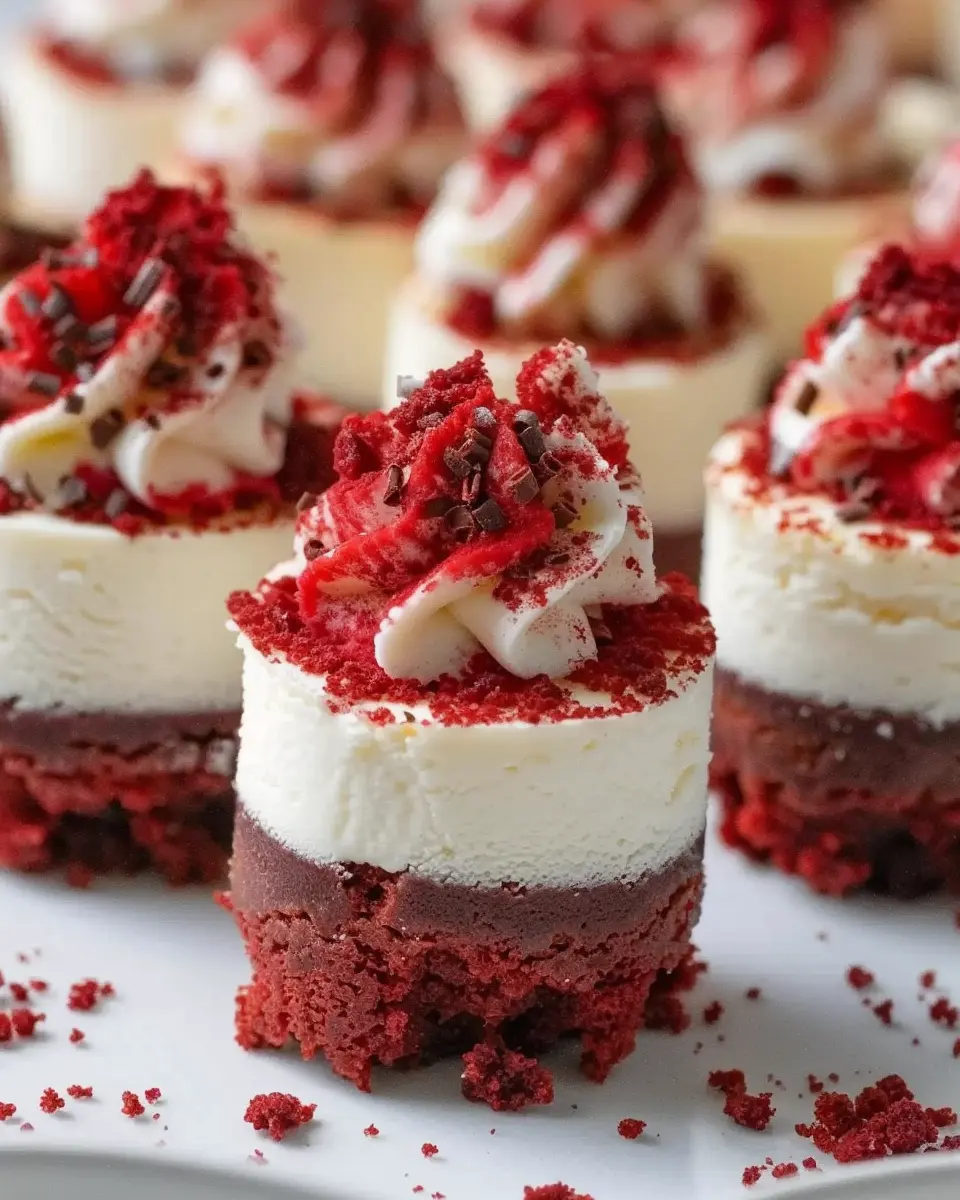
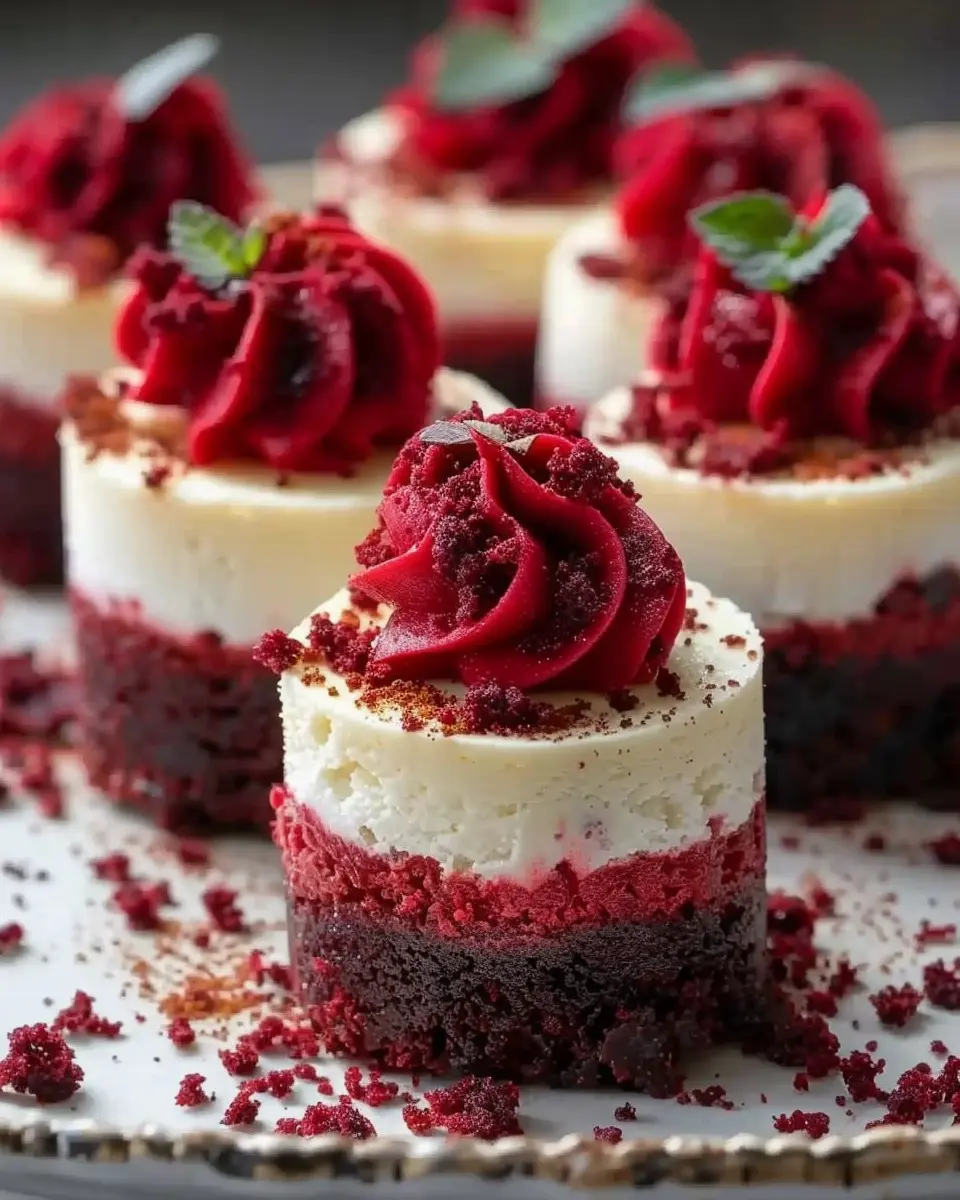
Top with a delightful garnish
After chilling, it’s time to bring your mini red velvet cheesecakes to life with a gorgeous topping! You can use:
- Whipped cream
- Sprinkles or grated chocolate
- Fresh fruit (like raspberries or strawberries)
This is also an excellent opportunity to play with flavors—add a drizzle of chocolate or cream cheese frosting to elevate your treats even further.
With these steps, you’ll create mini red velvet cheesecakes that are just as delightful to look at as they are to eat. Whether you’re entertaining friends or indulging solo, these treats are sure to impress. Happy baking!
Variations on Mini Red Velvet Cheesecakes
Creating mini red velvet cheesecakes is a delightful endeavor, but why not explore some fun variations to take your mini masterpieces to the next level? Here’s how you can experiment with crusts and flavors for a twist that suits your palate.
Experimenting with Crusts: Oreo vs. Graham Cracker
The crust can make or break your dessert. While classic mini red velvet cheesecakes usually feature a graham cracker crust, switching it out for an Oreo crust adds a deliciously rich and chocolatey dimension. Simply crush some Oreo cookies, mix them with melted butter, and press them into the bottom of your cupcake liners.
- Oreo Crust: Adds a deep chocolate flavor that contrasts beautifully with the sweetness of the cheesecake.
- Graham Cracker Crust: Lighter and more traditional, this option gives a nice crunch without overpowering the red velvet flavor.
Whichever you choose, make sure to bake your crusts for about 10 minutes to set them perfectly before adding the cheesecake batter.
Flavor Enhancements: Adding Mint or Orange Zest
Why stick to the classic flavors when you can get creative? Infuse your mini red velvet cheesecakes with mint or orange zest for a fresh twist.
- Mint: A hint of mint can give your cheesecakes a refreshing finish. Simply add a few drops of mint extract to your cheesecake batter.
- Orange Zest: A sprinkle of fresh orange zest not only brightens the flavor but also adds a fragrant aroma.
These simple swaps make a significant impact, transforming your dessert into a unique treat that your friends and family will love. For a deeper dive on flavor pairings, check out this article.
As you explore these variations, don’t hesitate to let your imagination run wild. Happy baking!
Baking Notes for Mini Red Velvet Cheesecakes
Tips for a Smooth Cheesecake Batter
Achieving a smooth cheesecake batter is crucial for your mini red velvet cheesecakes. Start with room-temperature ingredients—cream cheese, sour cream, and eggs mix more easily when they haven’t been chilled. For an even silkier texture, use a hand mixer at medium speed to reduce lumps. Remember, scraping the bowl helps keep everything uniform.
Common Mistakes to Avoid While Baking
When making your mini red velvet cheesecakes, be mindful of some common pitfalls. Overmixing can integrate too much air and lead to cracks during baking. Also, don’t be tempted to skip the water bath; it helps maintain moisture, ensuring a creamy finish. Lastly, be sure to let them cool gradually in the oven after baking. This trick can prevent unsightly cracks on the surface of your mini red velvet cheesecakes.
For further reading on cheesecake techniques and tips, check out Queen of Baking for expert insights.
Serving Suggestions for Mini Red Velvet Cheesecakes
Creative ways to plate and present
When it comes to serving mini red velvet cheesecakes, the presentation can take your dessert from tempting to absolutely irresistible. Consider using elegant dessert cups or small glass jars for individual servings. Layering the cheesecake with fresh berries or whipped cream can add color and texture, while a sprinkle of cocoa powder or grated chocolate on top provides a touch of sophistication. For an added crunch, crushed nuts or chocolate shavings make delightful garnishes.
Experiment with different serving styles—placing a few cheesecakes on an ornate cake stand can create a stunning centerpiece at any gathering. Don’t forget to incorporate seasonal decorations, like edible flowers, which can elevate the overall appeal.
Pairing with beverages for a full experience
Complementing your mini red velvet cheesecakes with the right beverages can heighten the experience. A rich, velvety hot chocolate or a refreshing berry-infused iced tea pairs beautifully, balancing the creaminess of the cheesecake. Alternatively, for a more sophisticated touch, consider serving your desserts with a matcha latte or a spiced chai. These choices not only enhance flavor but also add a visually appealing contrast to your dessert spread.
Looking for more tips on beverage pairings? Check out this helpful guide from The Spruce Eats for ideas that can transform your dessert experience into something unforgettable.
Time Breakdown for Mini Red Velvet Cheesecakes
When it comes to baking, timing is everything! Knowing how much time you’ll need for these mini red velvet cheesecakes can make your prep smooth and enjoyable. Let’s break it down:
Preparation Time
First up, you’ll want to allocate about 20 minutes for preparation. This includes mixing your ingredients and filling those adorable cupcake liners. It’s the perfect time to have some fun in the kitchen!
Baking Time
Next, the baking magic happens in just 25 minutes. Make sure to keep an eye on them—your kitchen will smell wonderful!
Chilling Time
After baking, allow about 2 hours for chilling. This is essential for a creamy, decadent texture.
Total Time
In total, you’re looking at around 2 hours and 45 minutes to have these delightful mini red velvet cheesecakes ready to wow your friends or family. For extra tips on cheesecake techniques, check out this guide.
Get ready to impress with your baking skills!
Nutritional Facts for Mini Red Velvet Cheesecakes
Calories per serving
If you’re keeping track of your calorie intake, each of these delightful mini red velvet cheesecakes contains approximately 150 calories. This makes them a treat you can enjoy without too much guilt—perfect for a special occasion or a casual dessert after dinner.
Key nutritional components
These mini red velvet cheesecakes are not just tasty but also pack a few essential nutrients:
- Fat: Roughly 10 grams, primarily from cream cheese and butter
- Protein: About 2 grams, contributing to satiety
- Carbohydrates: Around 15 grams, including sugars for that sweet touch
- Calcium: A good source thanks to the cheese, promoting healthy bones
Want to learn more about mindful eating and desserts? Check out resources from The American Heart Association to find more tips on balanced indulgence!
FAQs about Mini Red Velvet Cheesecakes
Can I make these mini cheesecakes ahead of time?
Absolutely! One of the best parts about mini red velvet cheesecakes is that they can be prepped in advance. You can whip up the cheesecake mixture and pour it into the crusts a day or two before serving. Just chill them in the fridge until you’re ready to enjoy! This is perfect for parties or holiday gatherings, allowing you more time to interact with your guests instead of being stuck in the kitchen.
What’s the best way to store leftovers?
If you find yourself with leftover mini red velvet cheesecakes (which is pretty rare!), storing them correctly will help maintain their deliciousness. Place them in an airtight container and keep them refrigerated. They’ll stay fresh for about three to five days. Just make sure they don’t come into contact with anything too pungent, as cheesecakes tend to absorb odors easily; think of how you wouldn’t want garlic-infused cheesecake!
Can I freeze mini red velvet cheesecakes?
Yes, you can freeze these delightful treats! To do this, wrap each cheesecake in plastic wrap and then place them in a freezer-safe container. They can last for up to three months in the freezer. When you’re ready to indulge, simply transfer them to the fridge to thaw overnight. This is a game-changer for meal prepping or when you have a sweet tooth craving. For more tips on freezing desserts, check out this resource from the National Good Food Network.
These mini red velvet cheesecakes not only taste amazing but can also fit seamlessly into your busy lifestyle!
Conclusion on Mini Red Velvet Cheesecakes
Adding mini red velvet cheesecakes to your dessert repertoire is a delightful way to elevate your gatherings. These bite-sized treats combine the richness of cream cheese with the classic flavor of red velvet, creating a beautiful indulgence that’s perfect for any occasion.
Why will you love them?
- Easy to Make: Simple ingredients and straightforward steps mean you spend less time in the kitchen.
- Impressive Presentation: Their stunning color and mini size make for a showstopper at any party.
- Versatile: Perfect for birthdays, anniversaries, or just because you want something sweet.
Incorporate this recipe into your collection, and watch your dessert game soar to new heights. For more decadent treats, check out other dessert ideas on Bigger Bolder Baking or Allrecipes.
PrintMini Red Velvet Cheesecakes: The Best Indulgence for Dessert Lovers

Mini Red Velvet Cheesecakes are the perfect treat for dessert lovers, offering a delightful combination of rich flavors and festive colors.
- Prep Time: 15 minutes
- Cook Time: 20 minutes
- Total Time: 35 minutes
- Yield: 12 servings 1x
- Category: Desserts
- Method: Baking
- Cuisine: American
- Diet: Vegetarian
Ingredients
- 1 cup red velvet cake mix
- 2 cream cheese
- 1/2 cup sugar
- 1 egg
- 1 teaspoon vanilla extract
- 1/4 cup buttermilk
- 1/4 cup powdered sugar
- 1/2 cup whipped cream
Instructions
- Preheat the oven to 350°F (175°C).
- In a mixing bowl, combine the red velvet cake mix, cream cheese, sugar, egg, vanilla extract, and buttermilk until smooth.
- Divide the mixture evenly into a lined muffin tin.
- Bake for 20 minutes or until a toothpick inserted comes out clean.
- Let cool completely before frosting with whipped cream and powdered sugar.
Notes
- For extra flavor, add chocolate chips or nuts to the batter.
- Serve chilled for the best texture.
Nutrition
- Serving Size: 1 cheesecake
- Calories: 250
- Sugar: 20g
- Sodium: 120mg
- Fat: 12g
- Saturated Fat: 8g
- Unsaturated Fat: 3g
- Trans Fat: 0g
- Carbohydrates: 30g
- Fiber: 1g
- Protein: 4g
- Cholesterol: 50mg
Keywords: Mini Red Velvet Cheesecakes, Dessert, Indulgence